Aeroplane
Many thanks Richard Pearse, Waitohi, New Zealand, March 31, 1902
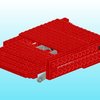
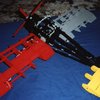
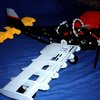
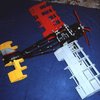
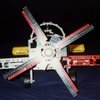
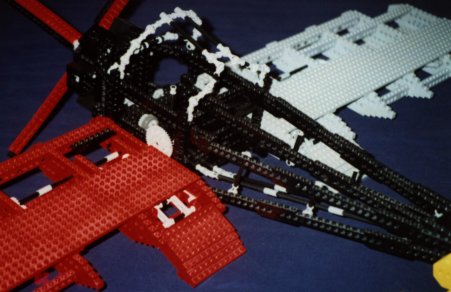
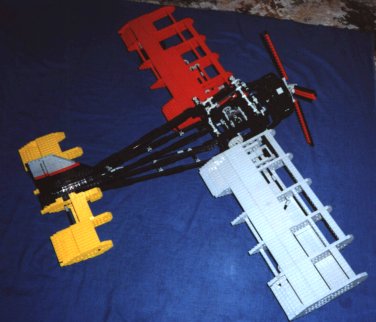
My Technic aeroplane is probably the one of best models I've ever built from scratch. It contained 1995 separate LEGO pieces, weighed approximately 4.5lb(2kg), had a wing span of 41.5in(104cm), a height at the tail of 7in(18cm) and at the canopy of 10in(25cm), and was 28.5in(71cm) in length. I don't know how many building hours it took to construct. I did a bit here and there for around 7 months.
It's not meant to be based on any real aircraft, but it is designed to have as many working features as possible, and I like to think of it as being a small single-seater aerobatic aircraft, or even a crop-sprayer. Two features that I am particularly pleased with are working flaps, and the working six cylinder rotary engine! Other devices such as rudder, ailerons, elevators, and joystick are all working too. I suspect that 'flex' system that came and went a few years back would have allowed me to simplify the operations of the control surfaces, but without it everything is controlled mechanically. Strangely, out of all the LEGO web pages I've searched through, there are plenty of Technic helicopters, but I've yet to find a Technic aeroplane!
Expand the sections below to discover more of the workings and details of the model
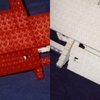
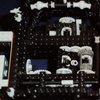
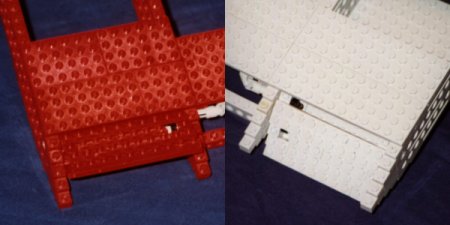
The rudder on the tail fin is controlled by the rudder pedals, seen above in the view of the cockpit. The two are linked together by a drive train that runs down the fuselage of the aeroplane. The rudder pedals were originally a spring-loaded self-centring system using push-rods, but I went for the version seen here to save on space more than anything else. The spring system used those springs you find in ballpoint pens, they fit perfectly over the LEGO axles, allowing you to make custom shock absorbers to suit your building needs! Note in the photo there is a zoom in of the tail wheel.
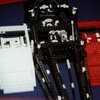
The elevators are controlled by the joystick. As with the ailerons (described in the next section), the elevators are attached to the joystick mechanism by a long drive chain. There are no instructions for the elevators since they are a simple device that just tilts forwards and backwards on a single axis.
The ailerons are controlled by the joystick and were connected to the joystick by means of a long drive train made with axles and the odd universal joint. There is nothing special about the design of the ailerons, so I haven't made any instructions. The key was simply to get the correct movement (one up, one down) when using the joystick.
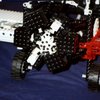
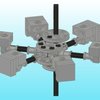
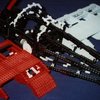
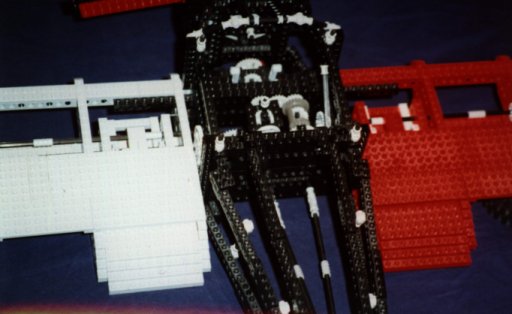
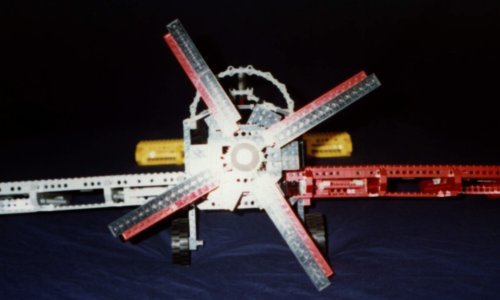
The rotary engine was one of those things that just worked! Once I knew the systematics I pulled out my bits and built it. Perhaps I was feeling inspired, but everything just fitted together as it should. The instructions for the engine don't use any piece that is currently unavailable, but if you want it to run smoothly you will need to use the old piston head pieces that were available in sets such as the original super car. Sure the new pistons are nice and compact, but they don't have the versatility of thee old chunky type. Have a look at bricklink.com if you're desperate for some.
The rotary engine comes in two main parts. The shaft of the engine - which has the pistons etc attached, and the housing or cowling of the engine. Instructions for the engine are available.
The joystick is based on the design found via the mechanics page at "LEGO On My Mind". My version is basically a miniaturized version of this design, and I doubt if it can be simplified much further, but I'd love to hear of any design that does.
The trick with the joystick is to decouple to forward/backward motion from the sideways motion. I messed around for ages trying to this, such simple problems can quickly turn into frustrating nightmares!! Whilst the instructions for my version are available here, I suggest you have a look at this original design as it shows more clearly the concepts used. The key is to make sure that the overall gear ratios on each side are 1:1, and that one side has an even number of turns, and the other side an odd number of turns, it's then a simple matter to decouple the motions using a differential gear. The joystick is towards the centre-right of the picture of the cockpit, the rudder pedals can be seen towards the top.

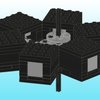
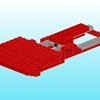
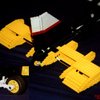
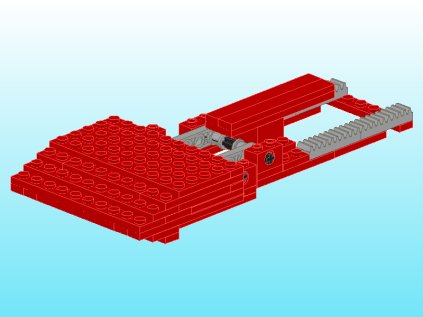
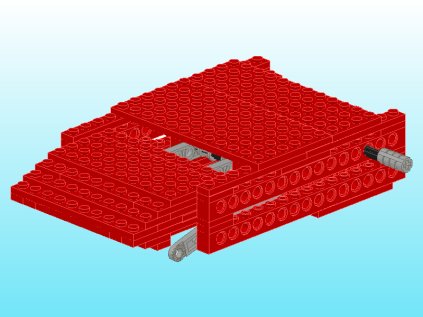
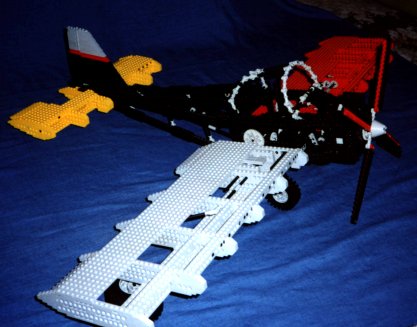
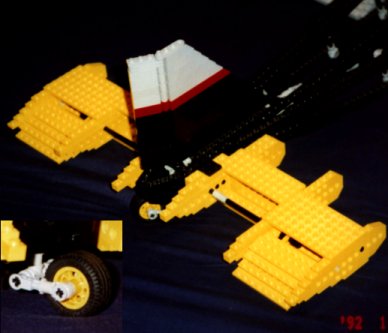
The flaps are not your usual simple flap that moves from level to down, but the type that moves out, then down. The technical name for this type of flap is a Fowler Flap, it may even be a slotted Fowler flap. The flaps were a little more tricky than I originally imagined. The two types of motion, lateral and rotational, complicate things somewhat, but using runners and a rack and pinion system made the whole system fairly straight forward to build.
I've put together some instructions for the flaps. The PDF is available below.


Share and donate!